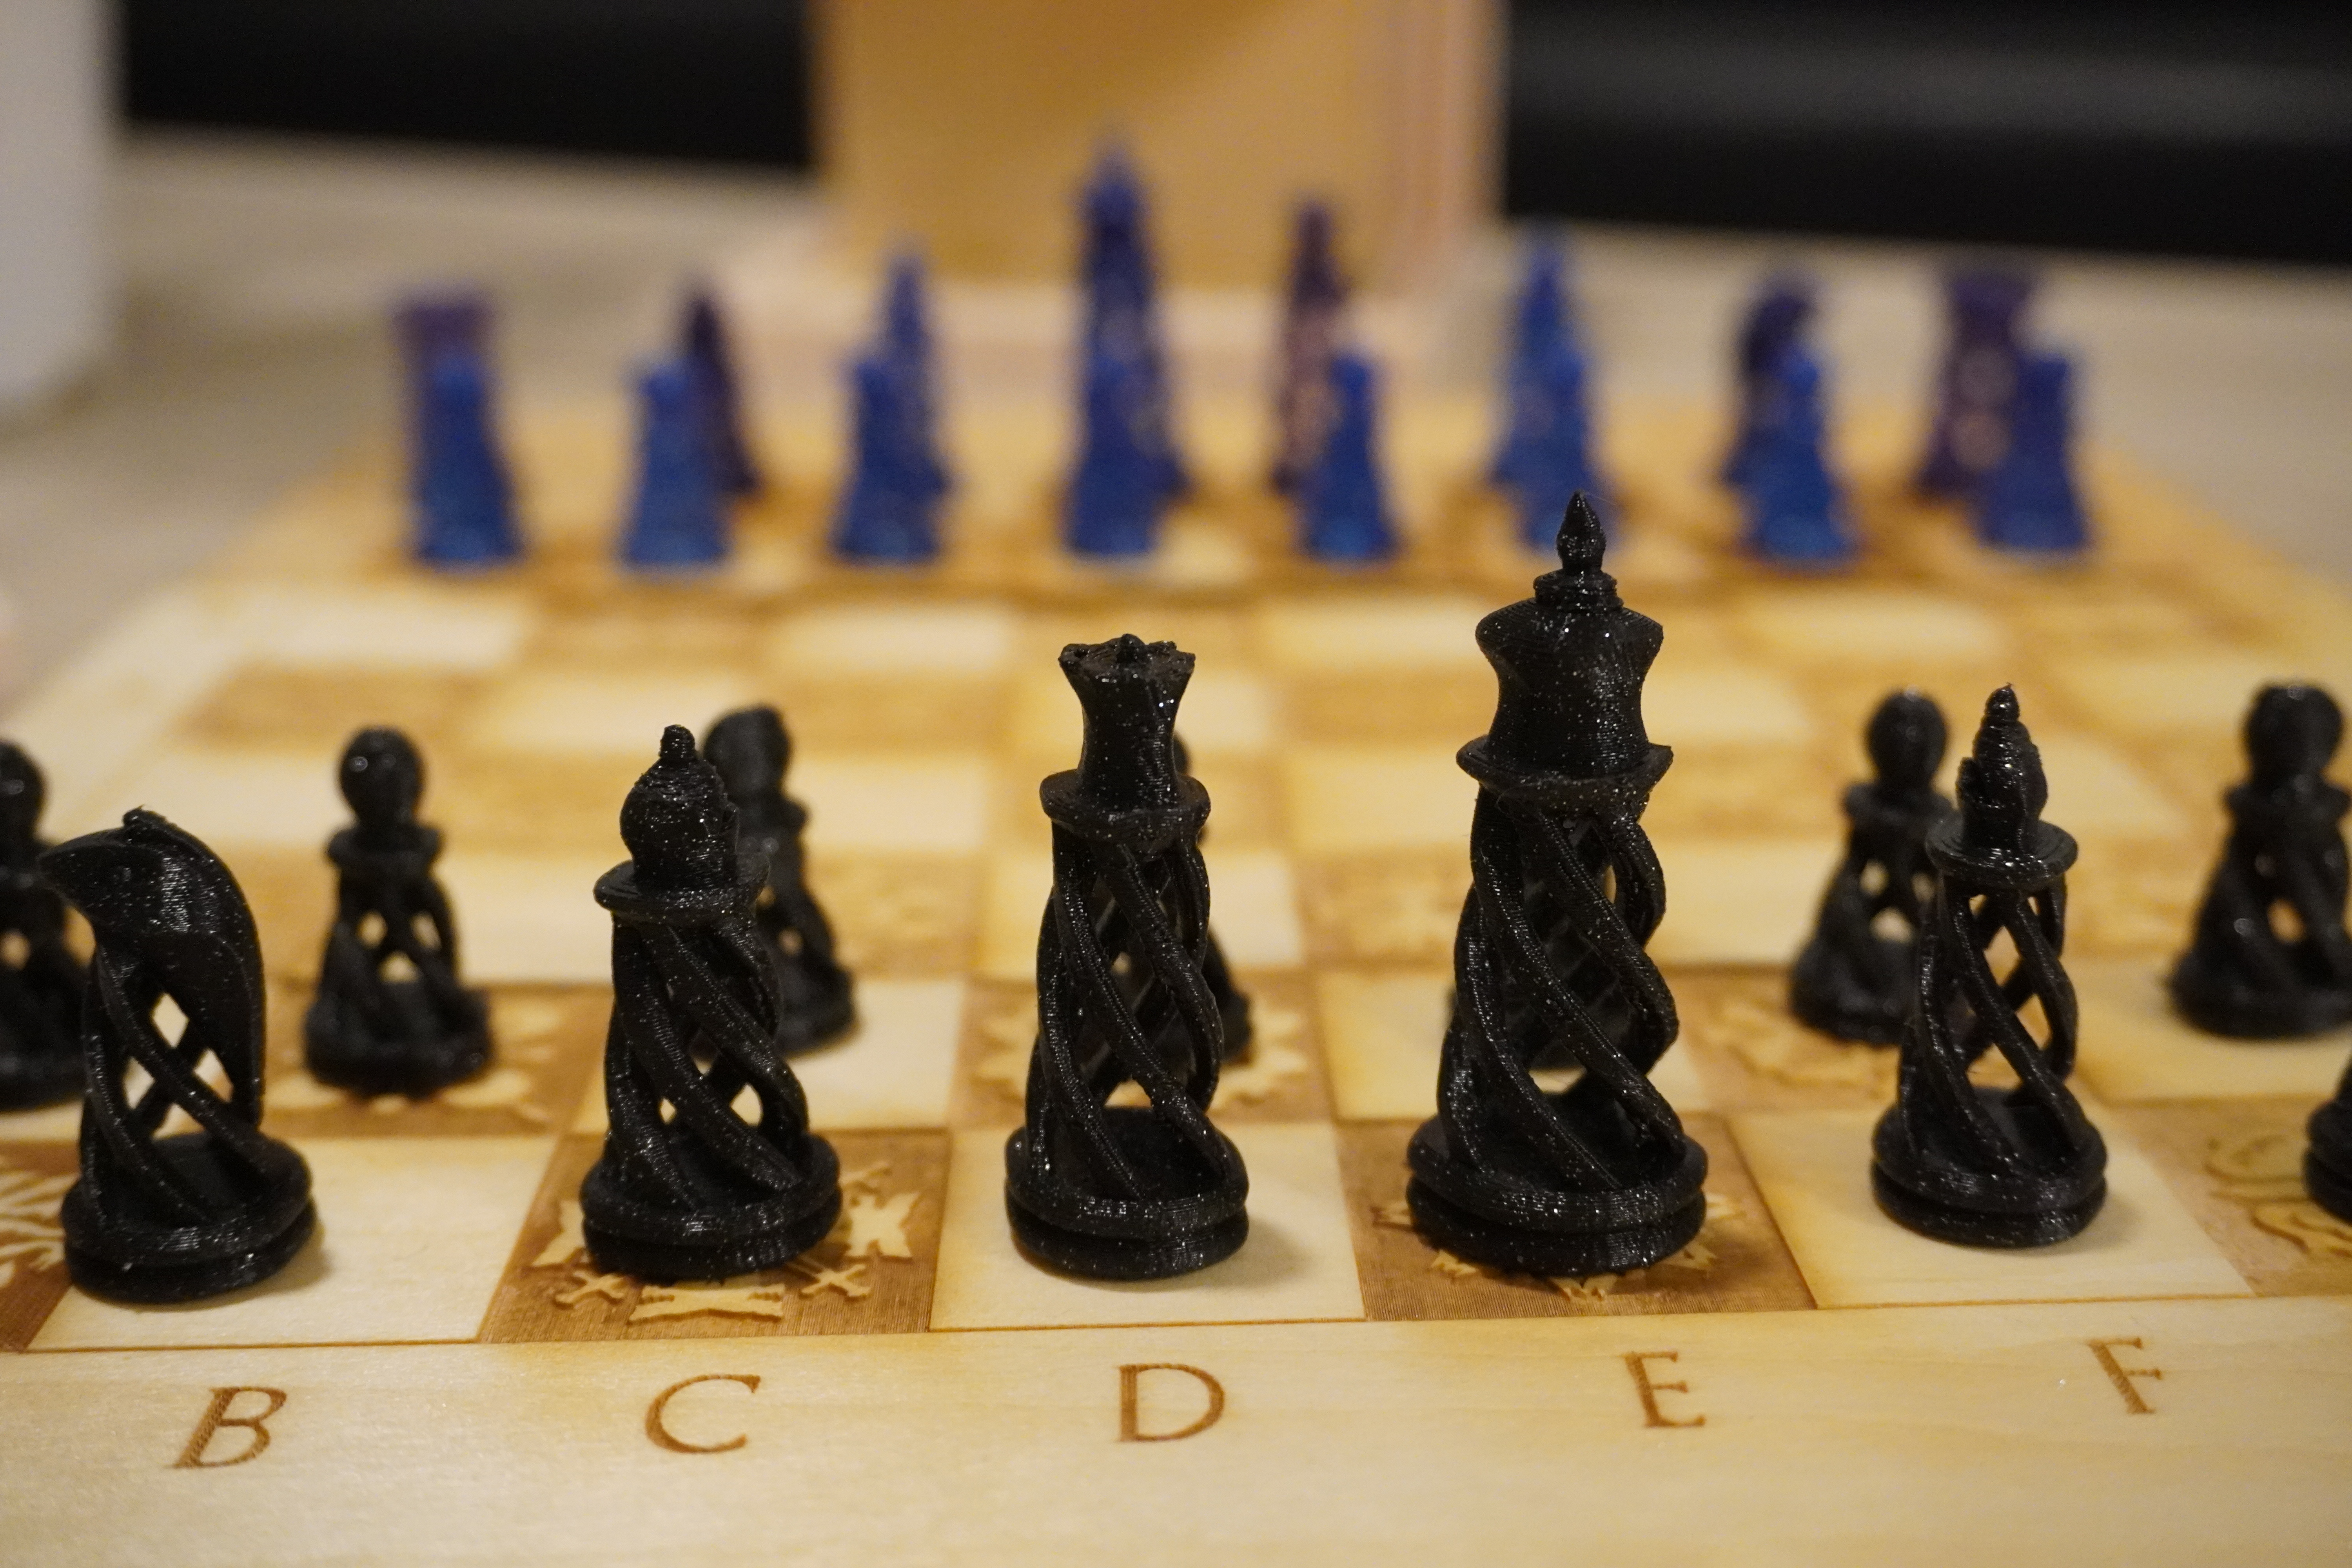
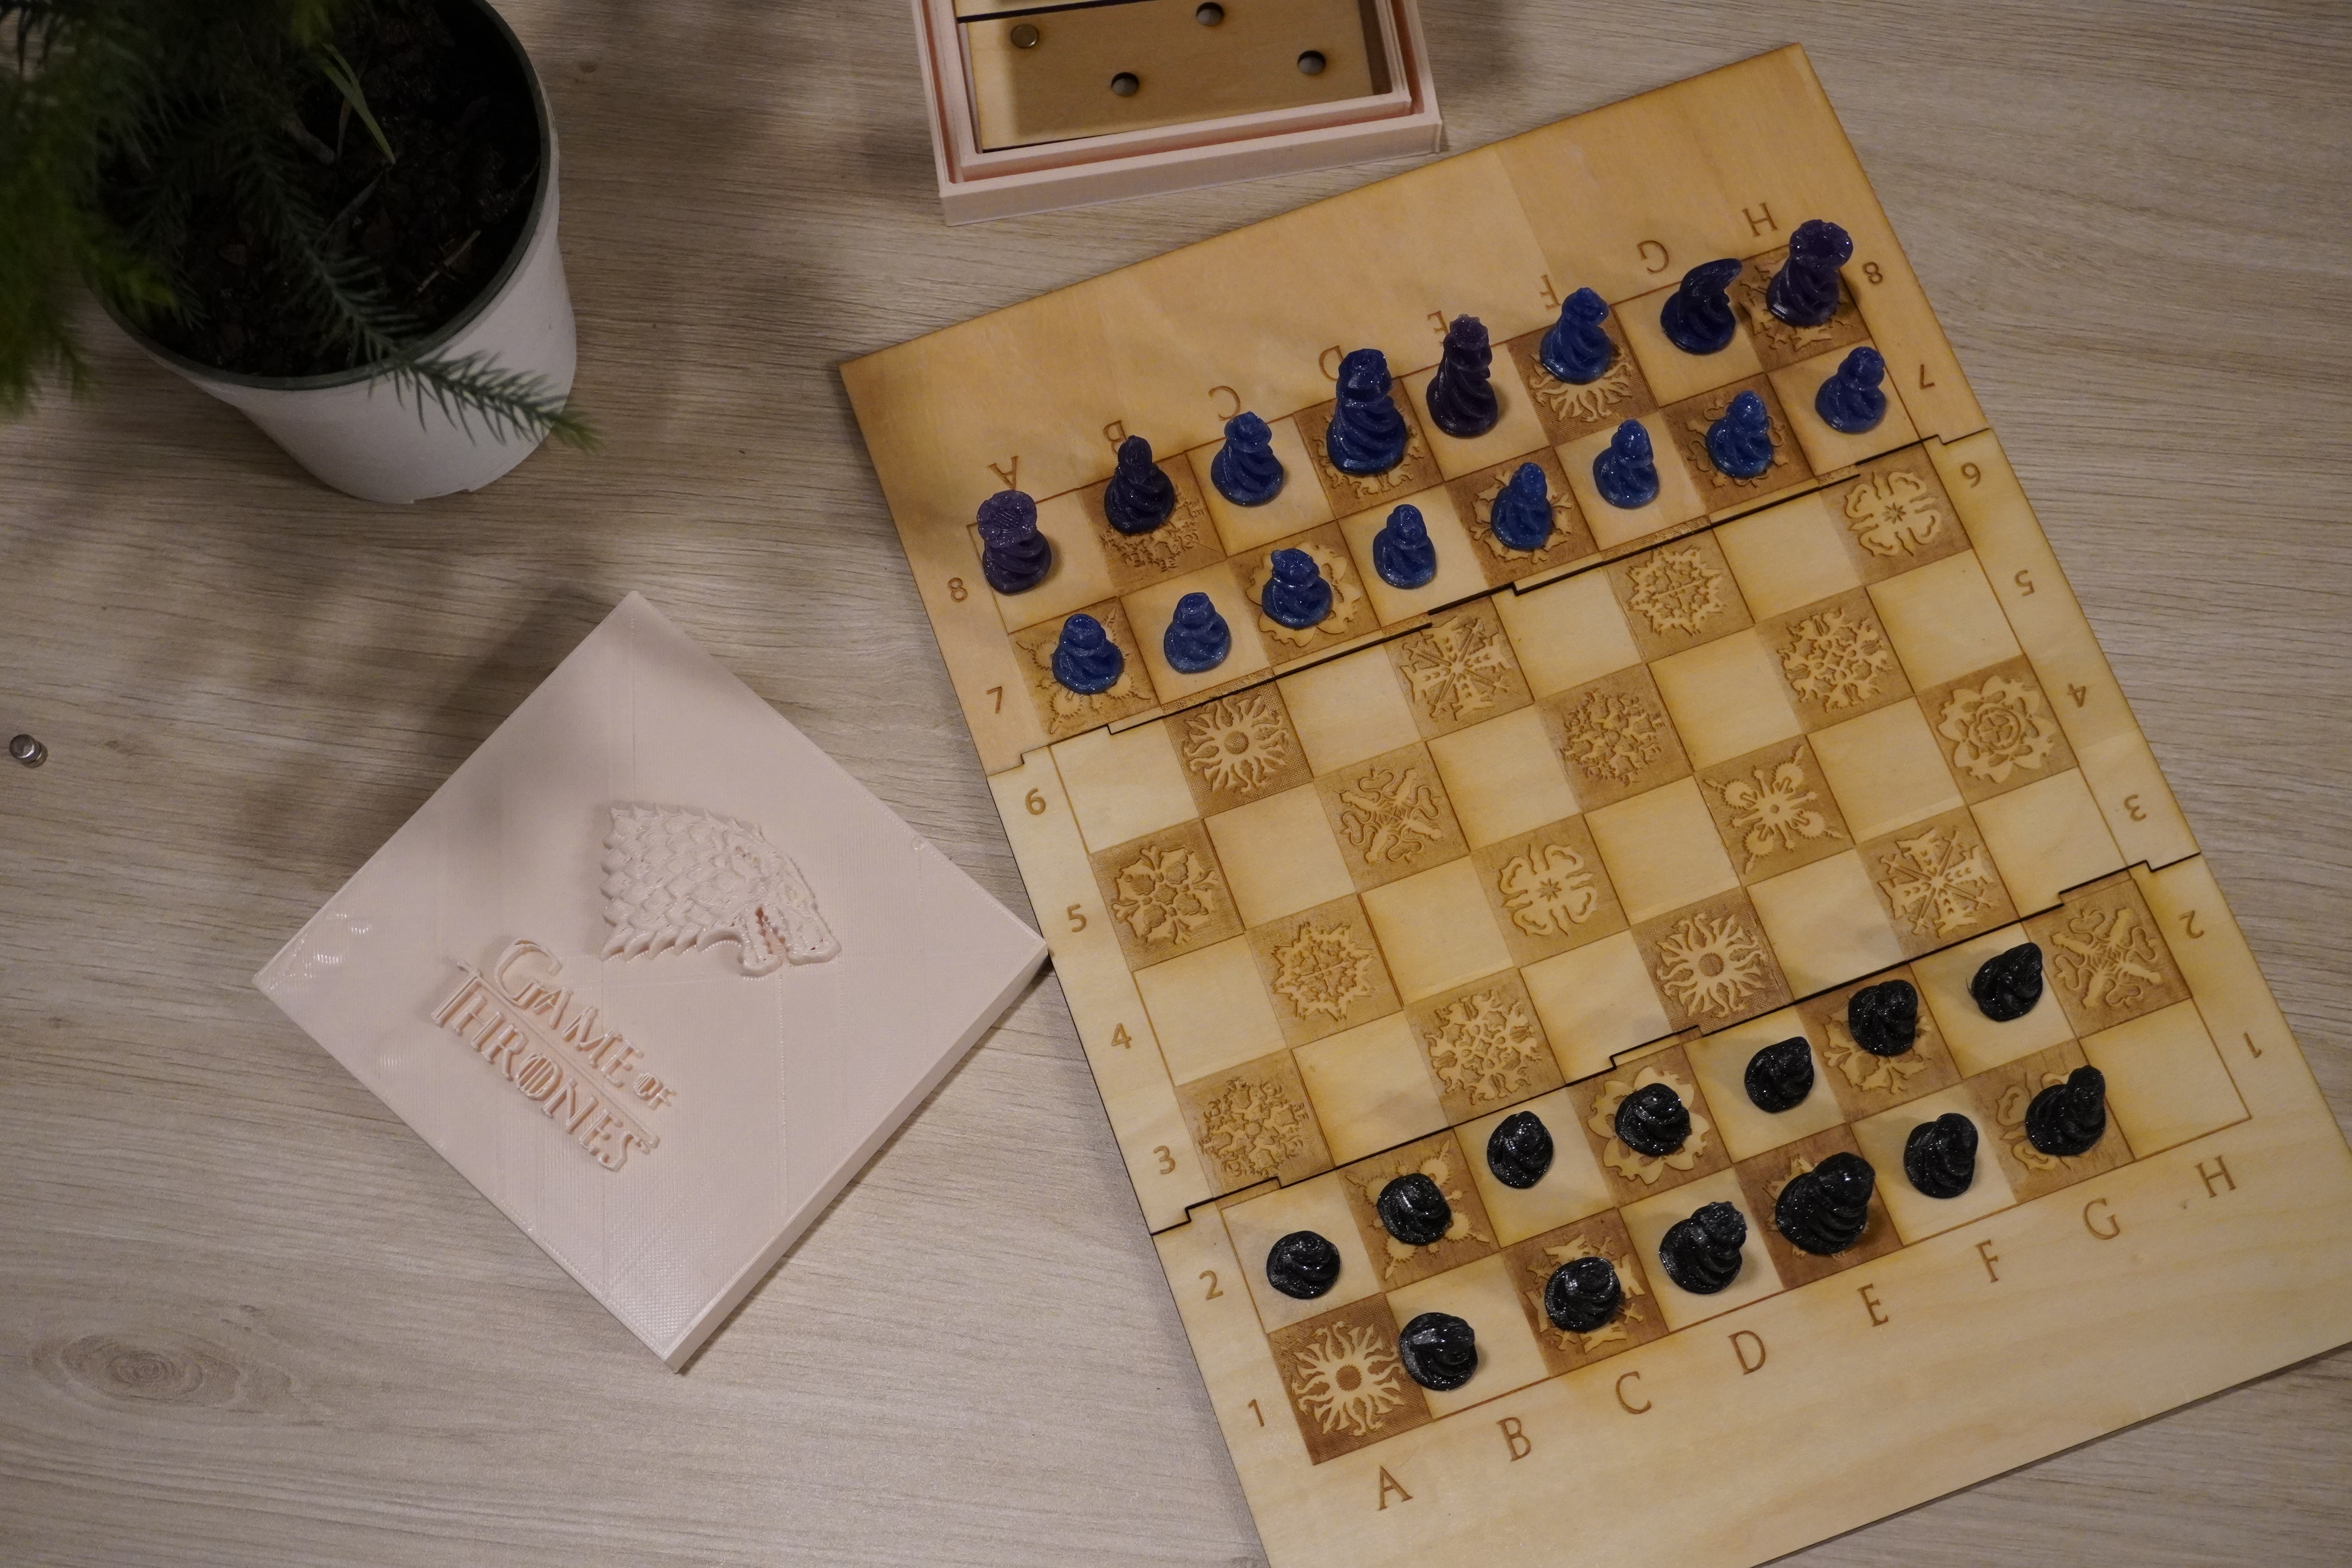
Final Result
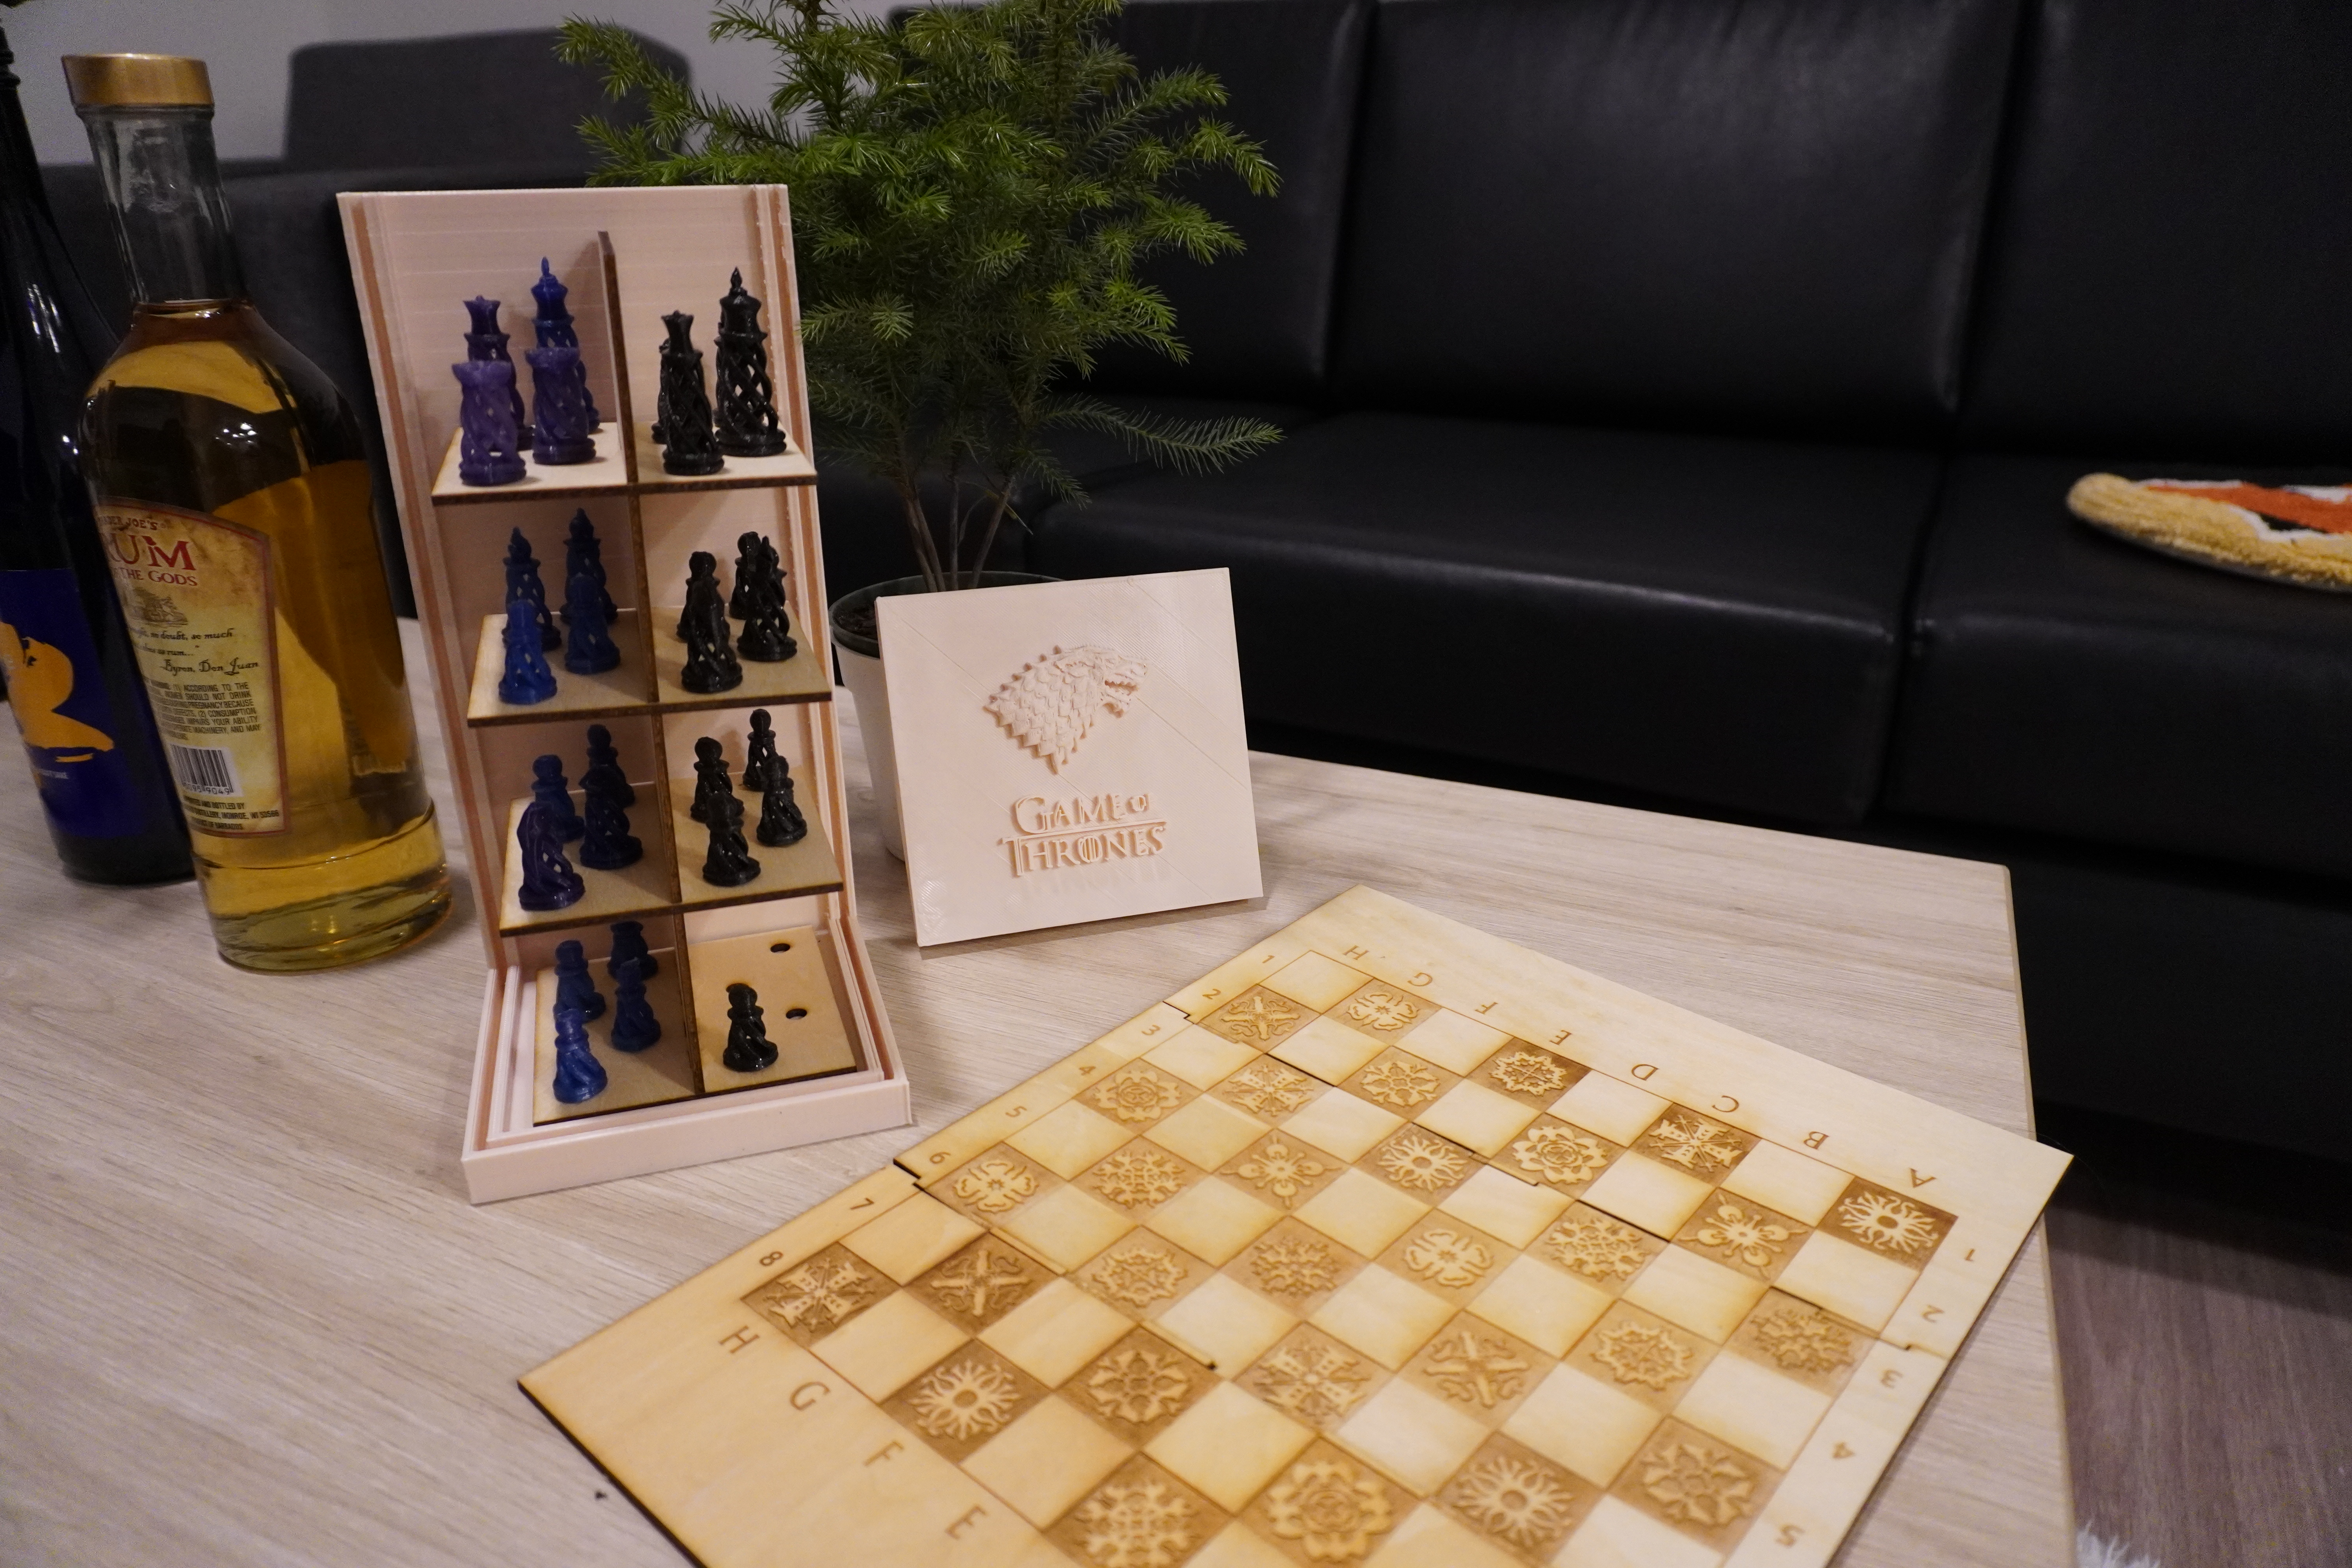
Techniques used: laser cutting, Rhino, 3D printing, press-fit, and incorporating stock parts.
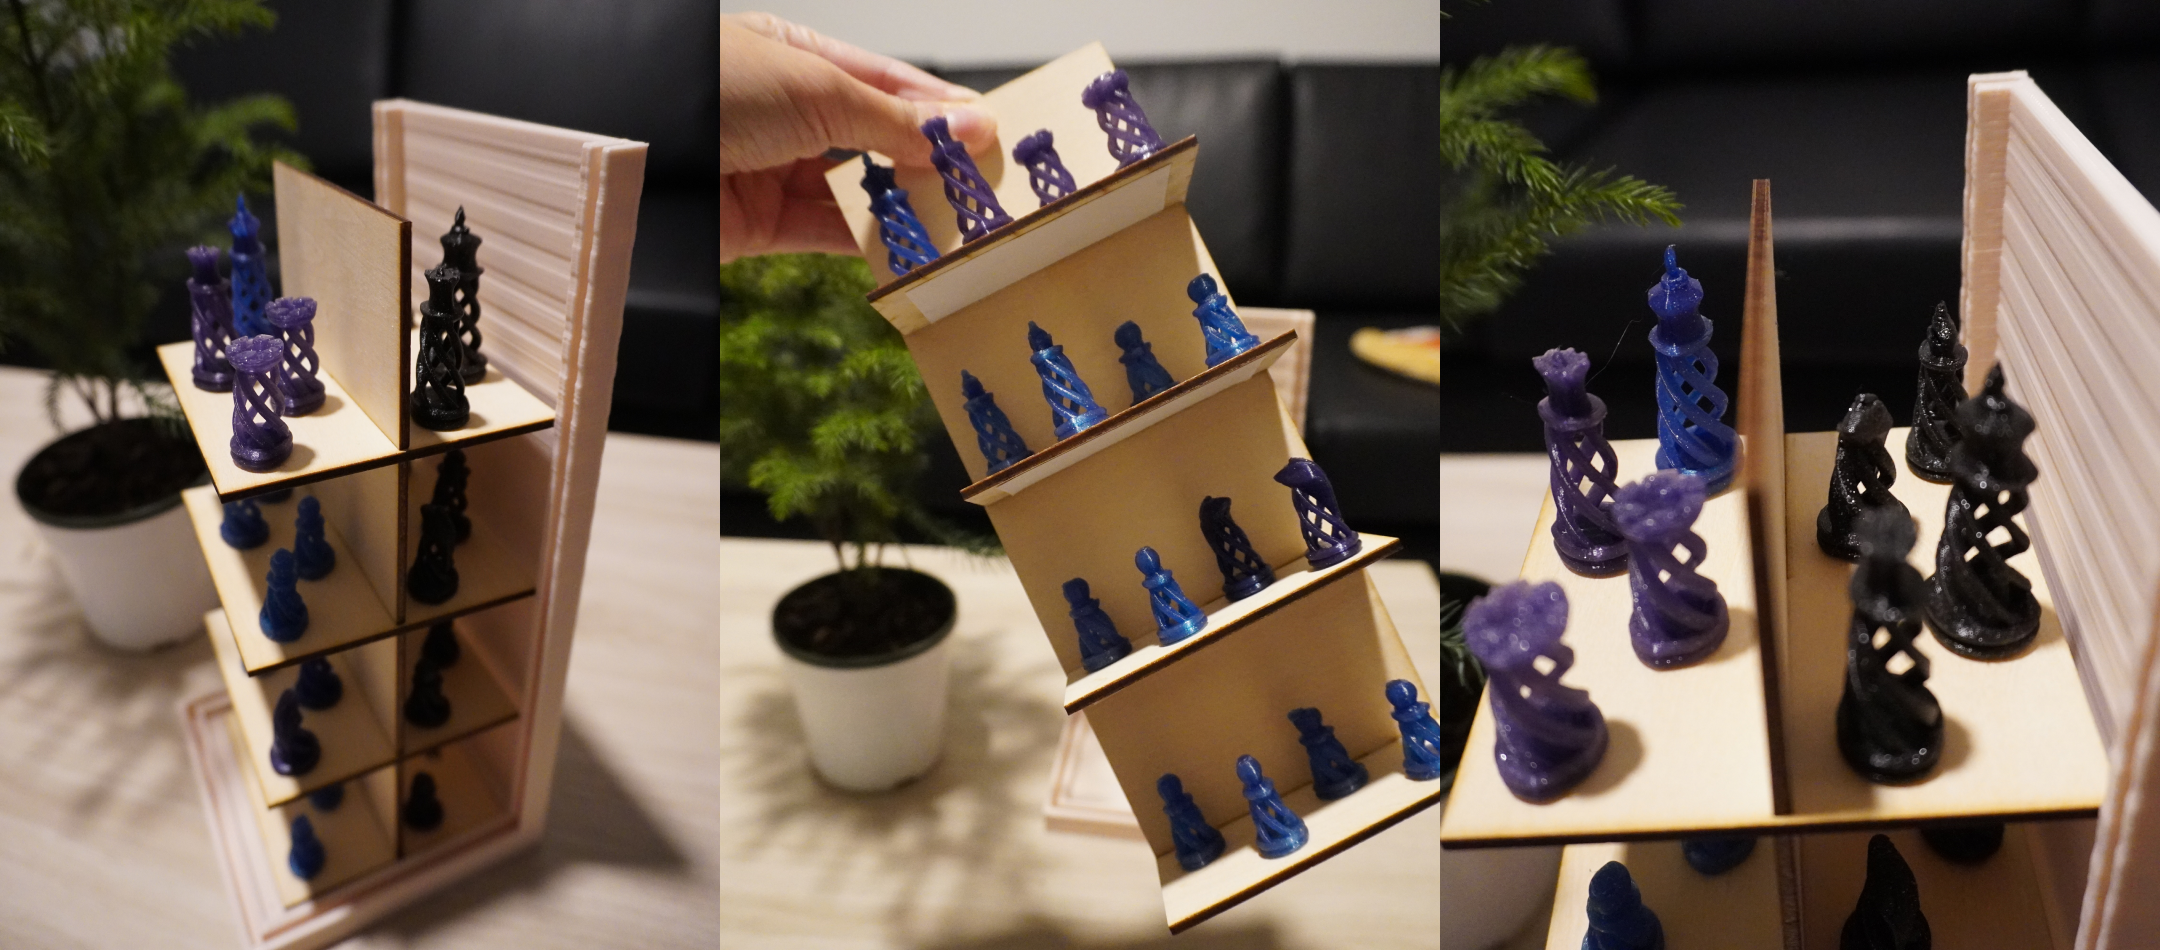
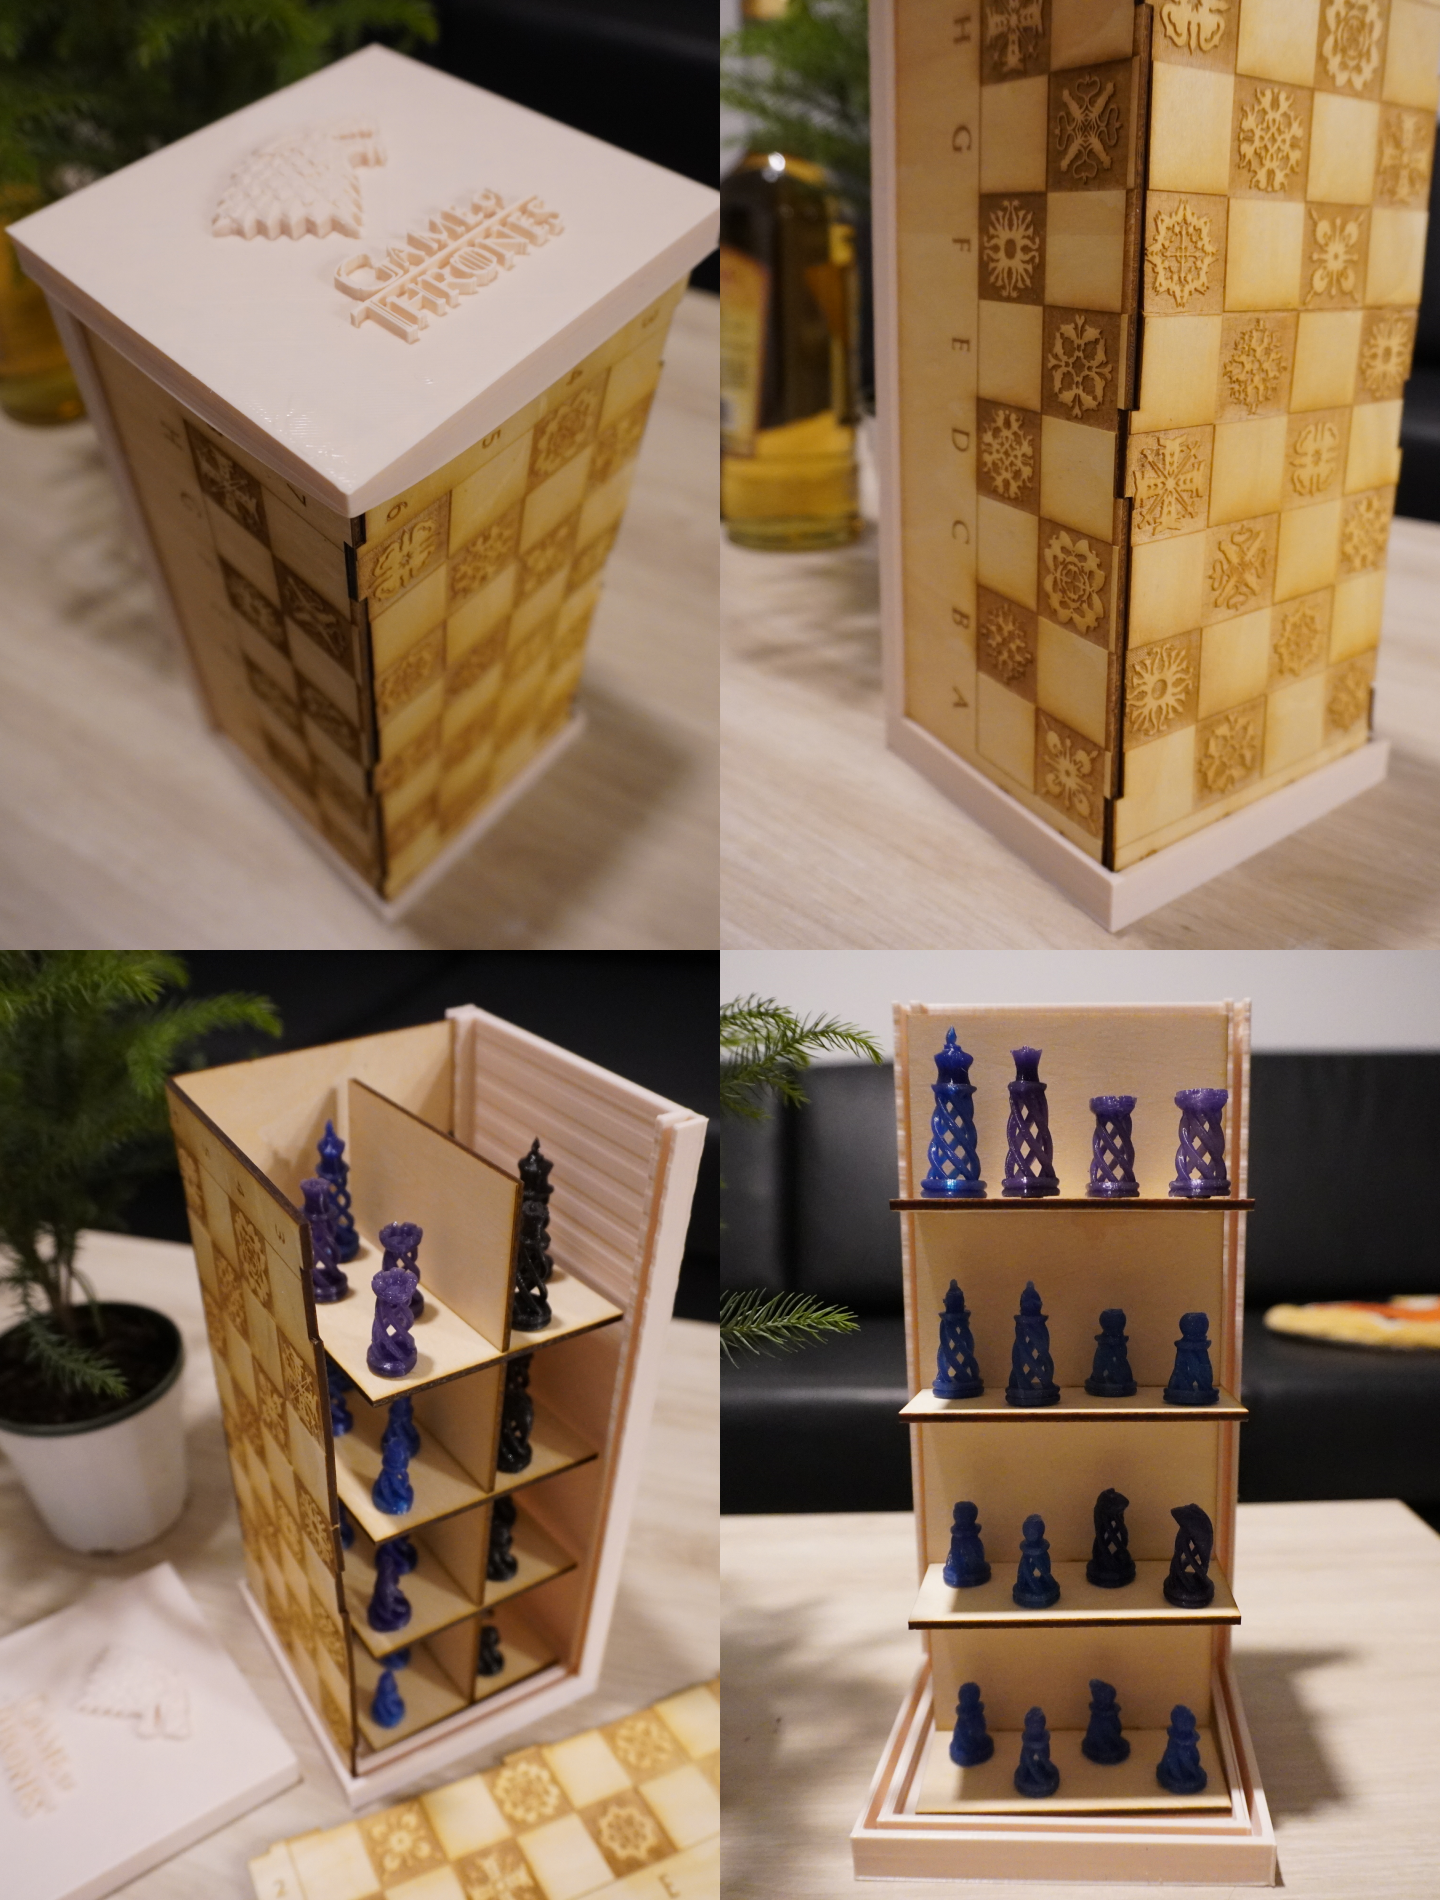
This is a spiral chess set with press-fit board and carrying box. All of the chess pieces can be attached to the holder using magnets so that they don't fall out of place and can be easily displayed.
It's a real struggle finishing this seemingly easy project, and I'm still three chess pieces out as my 3D printer gave up on me. I'll write about the process below.
Concept
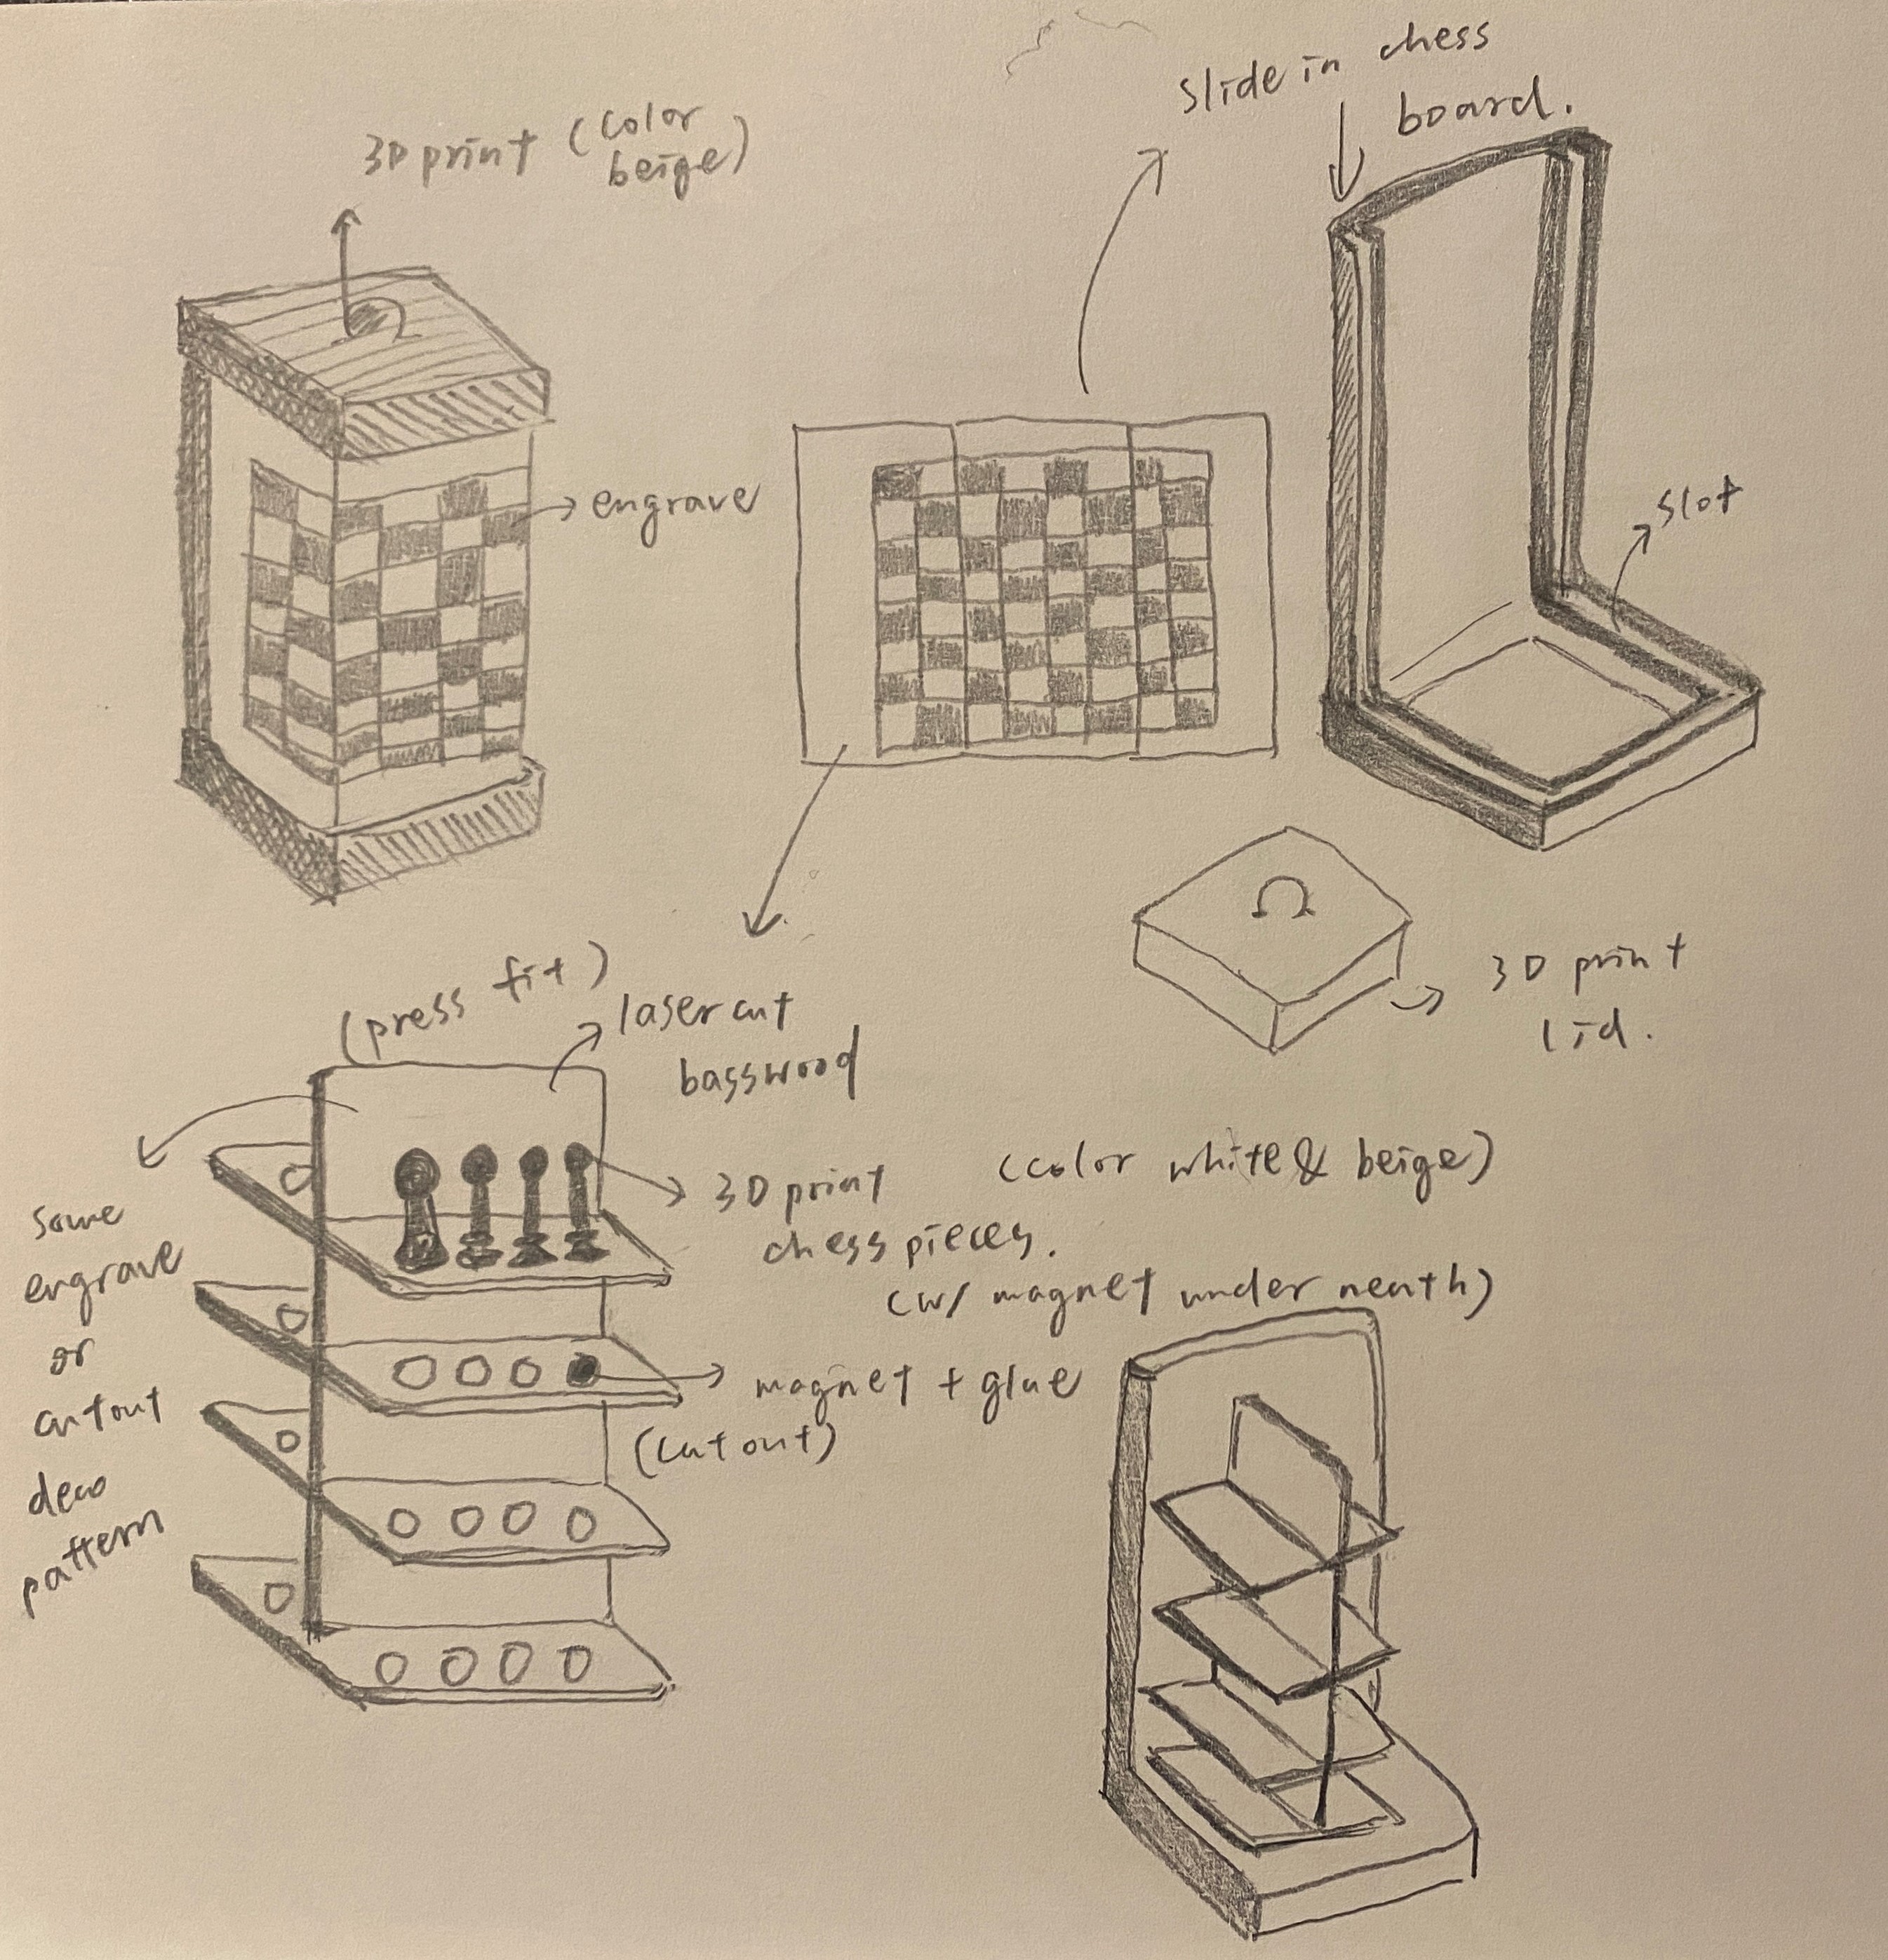
Here is a rough sketch my design. I planned to laser-cut the chess board and the chess holder, 3D print the chess pieces and the box base, and then glue magnets onto the chess pieces and the holder.
Designing in CAD
Here is a rendering of the chess box design I did in Rhino. The wood-textured part will be laser cut from basswood and the pink part will be 3D printed with PLA filament.

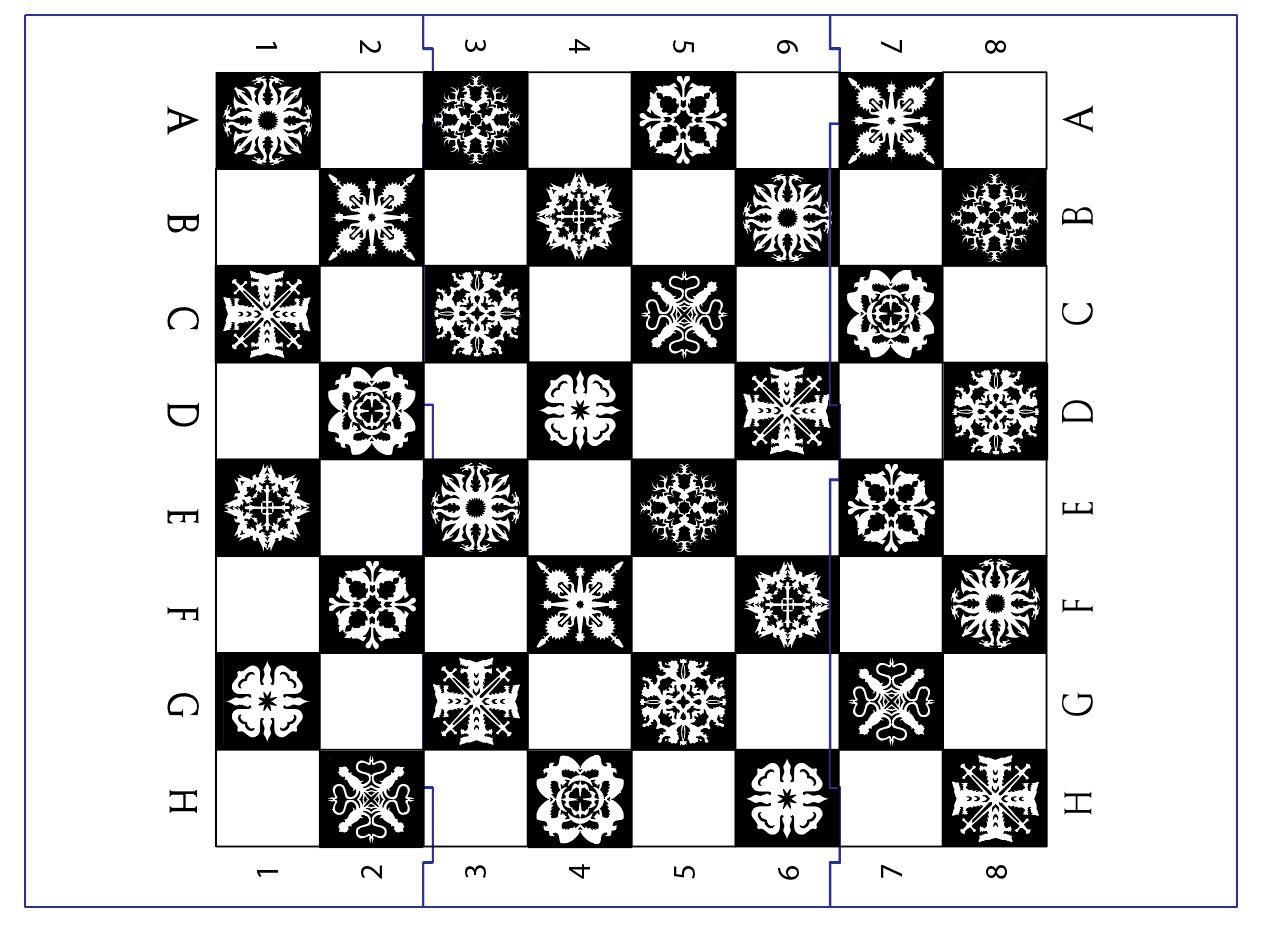
For the chess board, I designed the engraving in Adobe Illustrator. The theme of this chess board is inspired by Game of Thrones, so I modify this GoT snowflake design to be the chess board pattern, representing the 10 houses in the story.
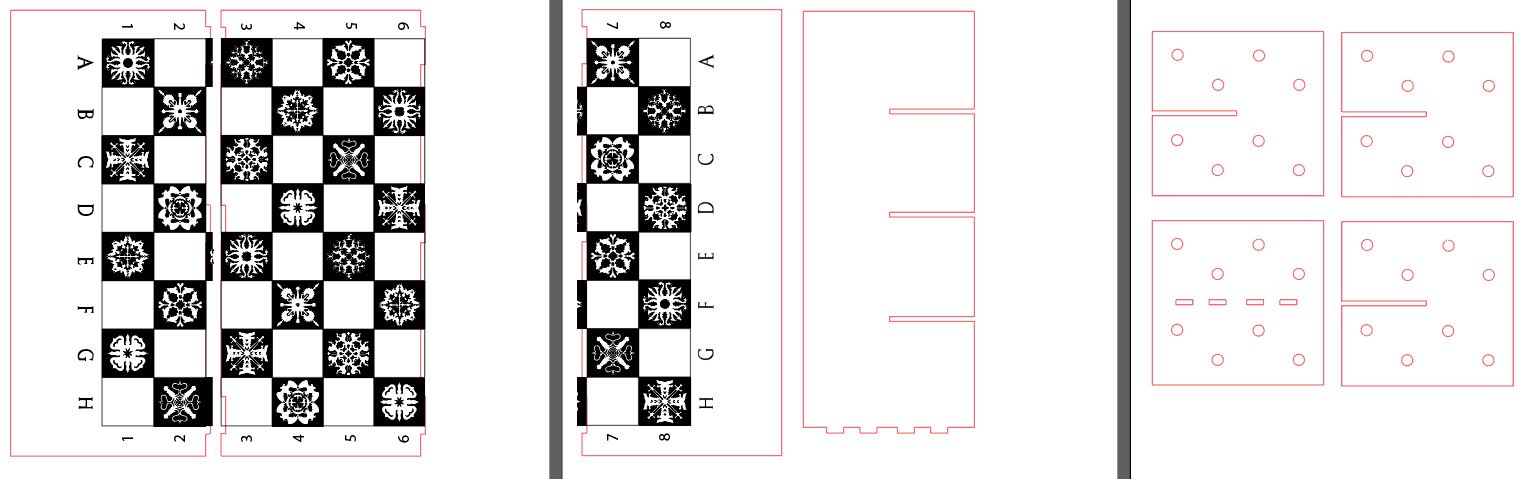
The chess box and holder structure that need to be laser cut are imported into Illustrator from Rhino, as highlighted in red in the picture below.
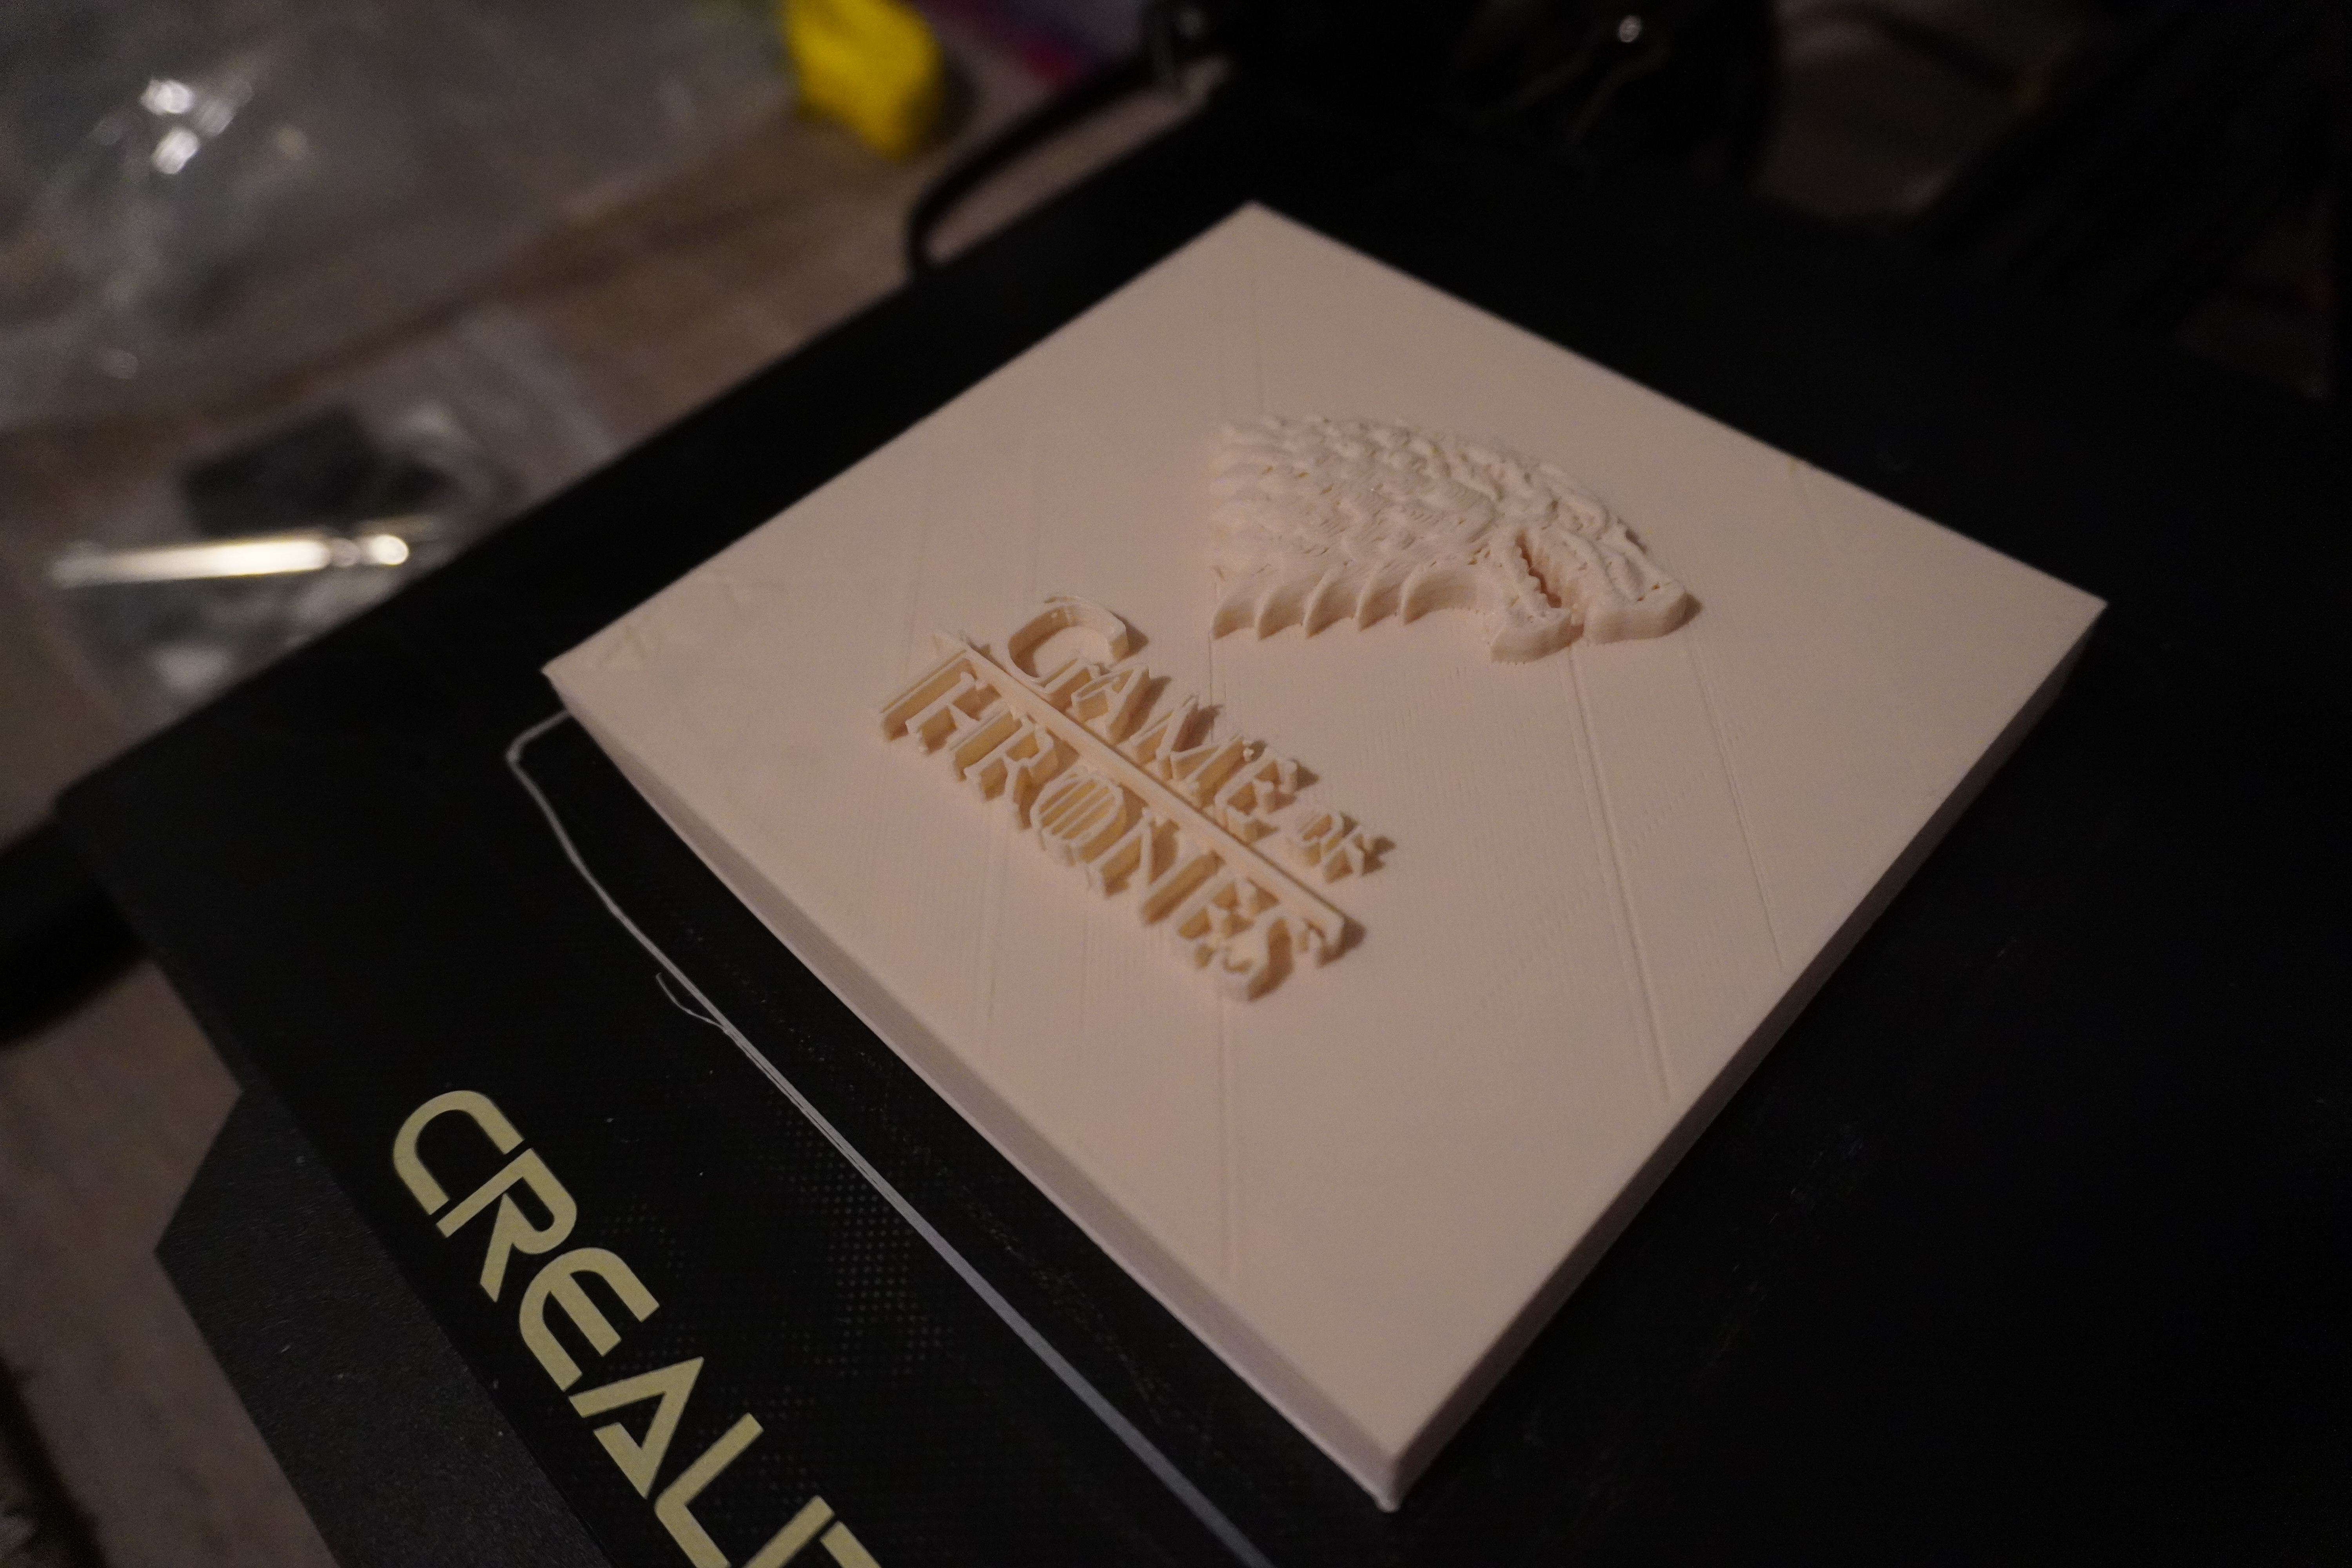
As much as I want to print this awesome GoT chess pieces design, unfortunately it's not feasible for this project. Printing all of the 32 chess pieces with this much detail will not be possible since I only have around 1 week of printing time. I considered scaling them down in exchange for faster printing time, however from my test print, the details of the model would be sacrificed too much as I could barely see the shape of the swords on the Iron Throne, and it would take lots of time to clean up all of the supports needed to print these pieces.
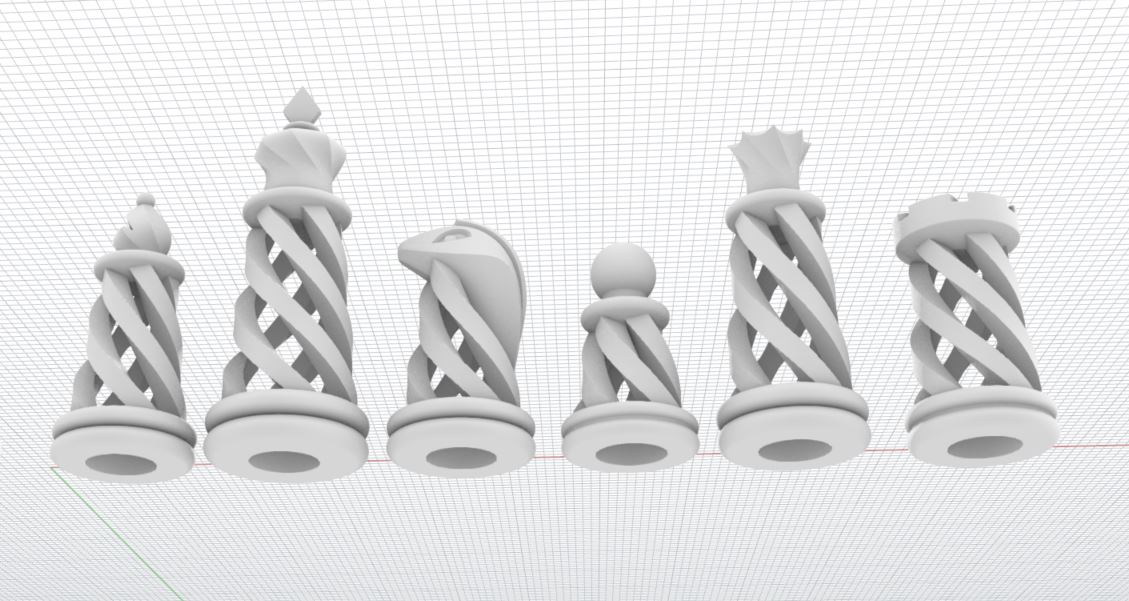
Therefore, I chose to print this spiral chess set as they can be printed without supports, and they are something that could not be manufactured by any other process other than 3D printing.
I measured the size of the magnets I purchased (2.8 mm in height and 5.9 mm in diameter), and did a few test prints to finally determine that the hole underneath each chess piece to be 3.2 mm in height and 7.8 mm in diameter to best fit the magnets. I then modified the models of chess pieces in Rhino, scaling down the original models to be 64% considering the size of my chess board/box design and the printing time required.
Laser cut the chess board and holder
To avoid waiting in the long line at the MILL (and laser cutter potentially not working), I took the laser cutter training and then did the laser cut parts in my office. The Epilog laser in the office has cameras on and it's easier to position the cut parts onto the materials.
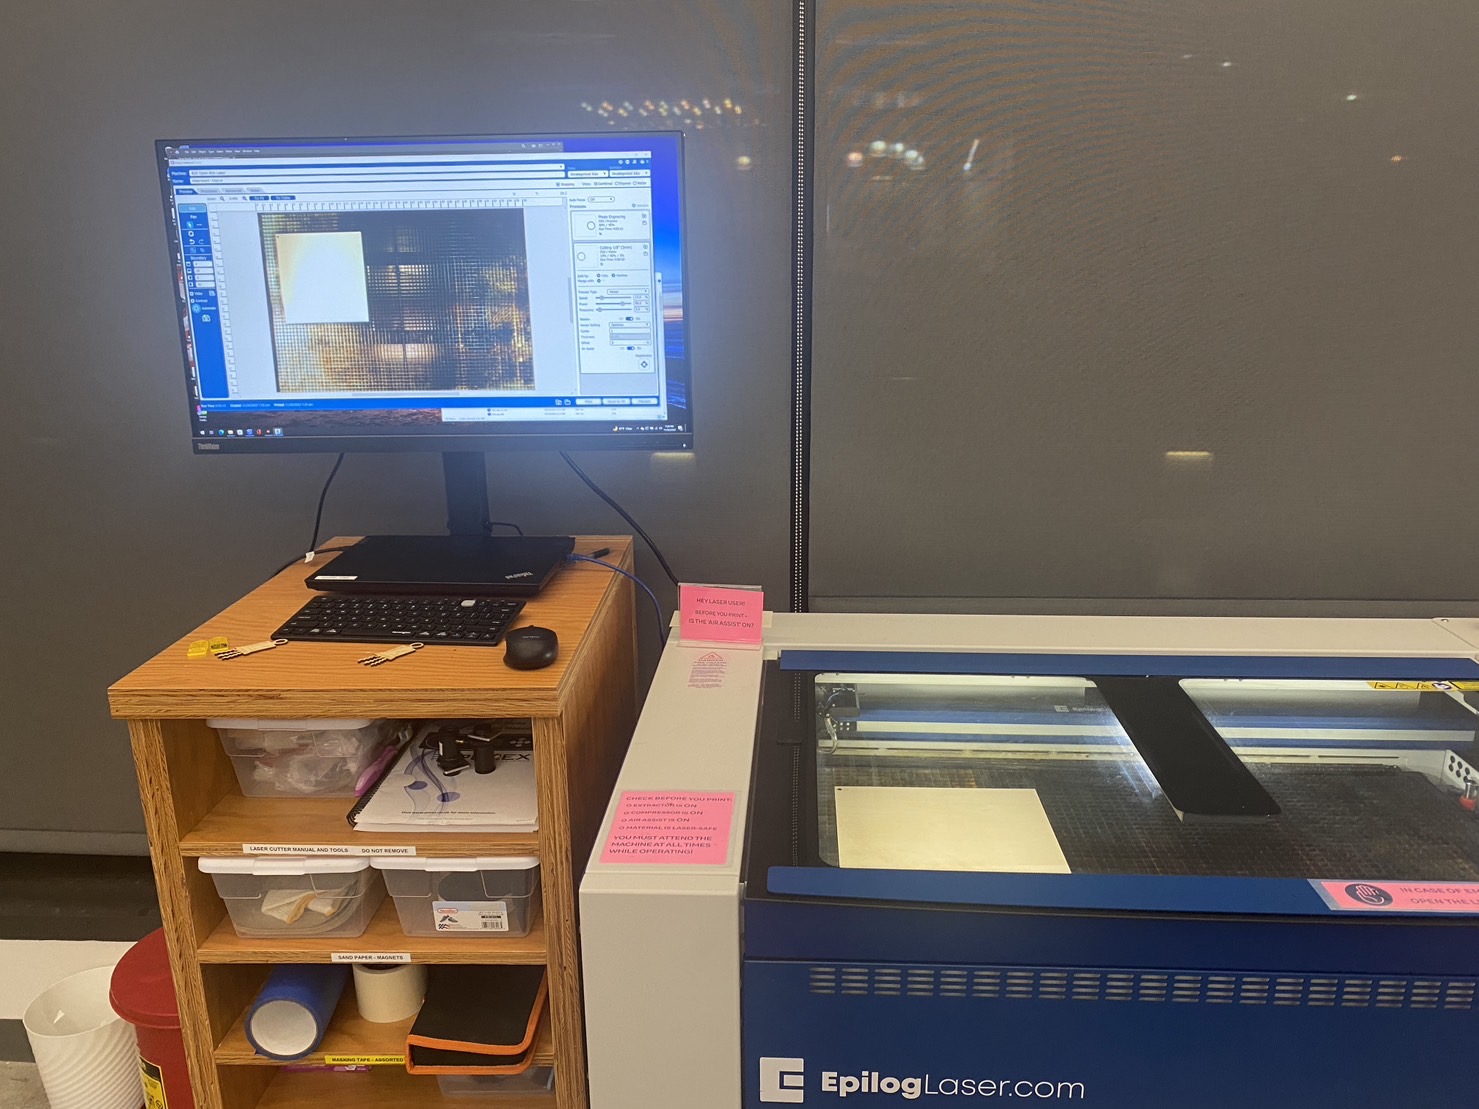
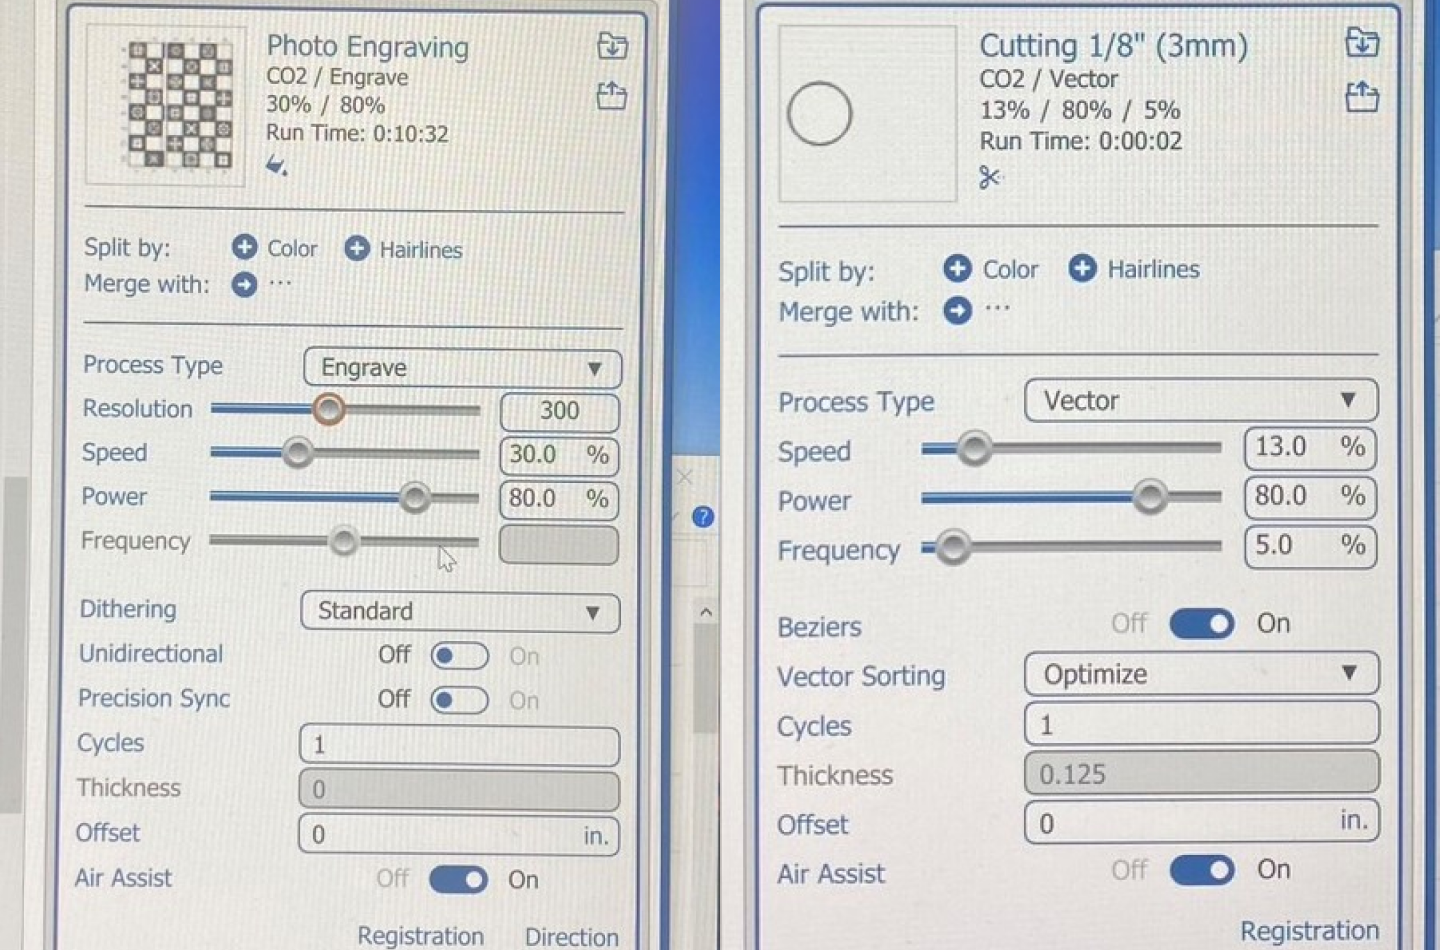
Here are the settings I used. According to the training instructor, even though the printer preset settings set the power to be 100%, it is better to reduce the power to 90% or lower to prolong the life of the laser cutter. By proportionally reducing the speed, we can get similar results. Here are my settings.
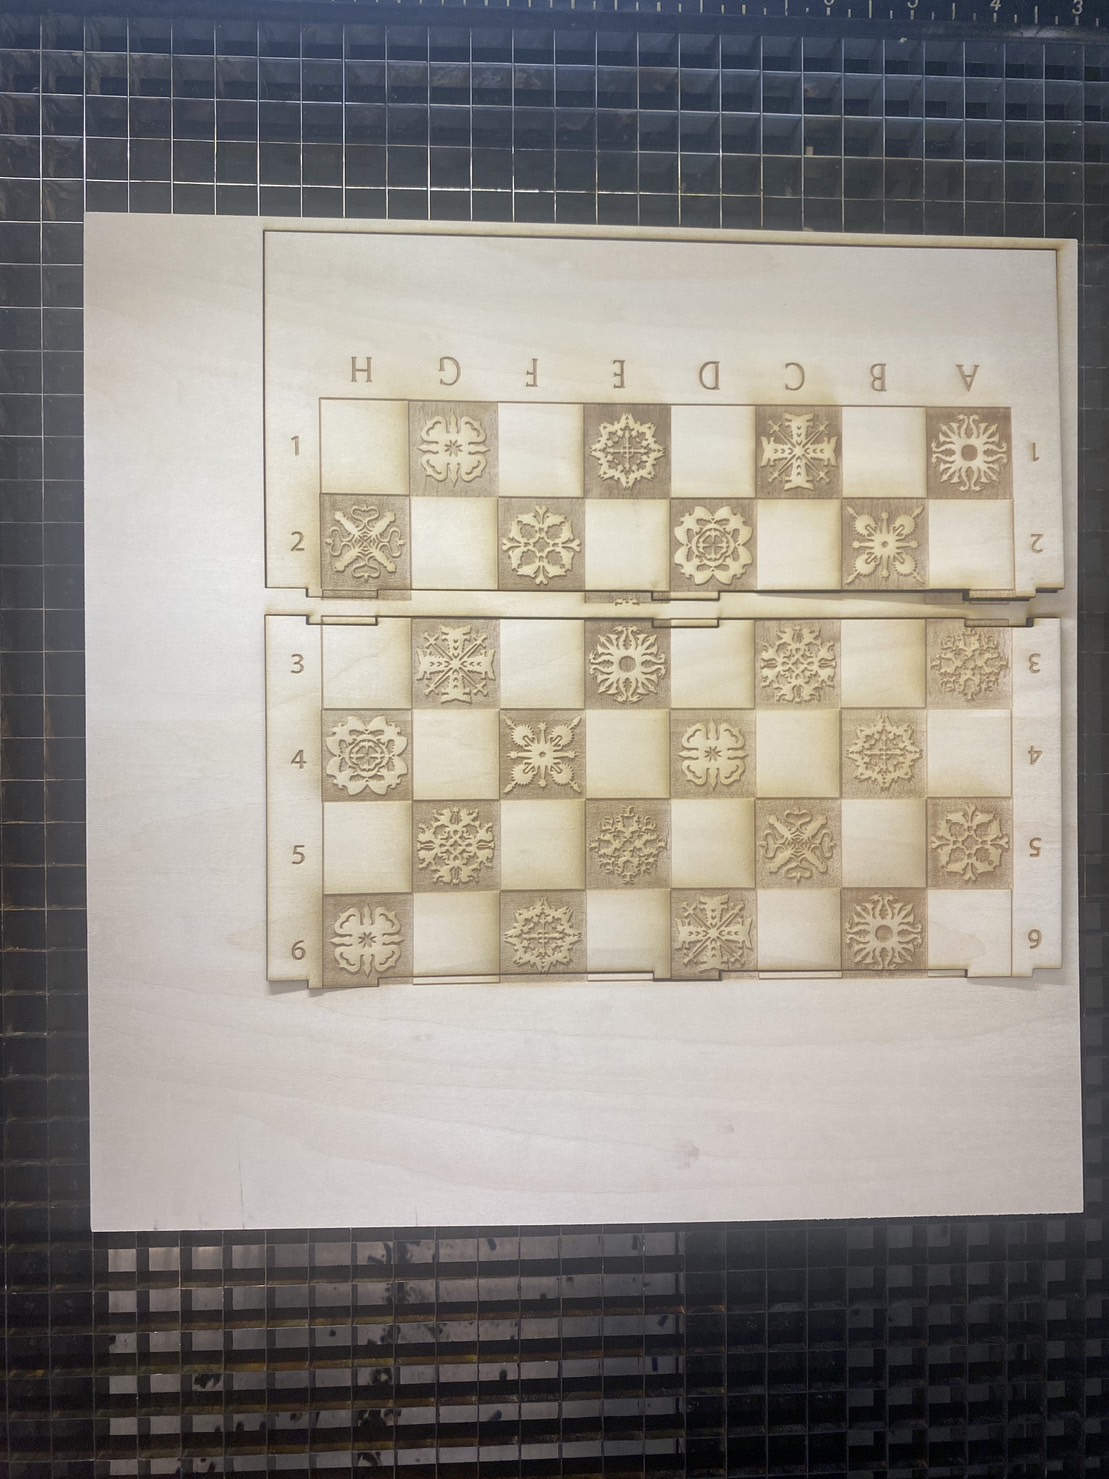
However, engraving the board this way makes the basswood piece fragile and easy to break, which I didn't foresee. And the basswood boards were a bit bent instead of completely flat, which made it difficult to fit them together as well as fit them to the 3D-printed box base.
A real struggle this time with my 3D printer
For the box structure, the base took around 12.3 hours to print. I failed twice during the process. As it is a long print and I wanted to actually sleep at night, I paused the print thinking I could safely resume it in the morning. Sadly the printer failed me and refused to let me continue...and I had to start over again.
The lid took another 6-7 hours to print, it came out alright but sadly it did not fit my box structure well.
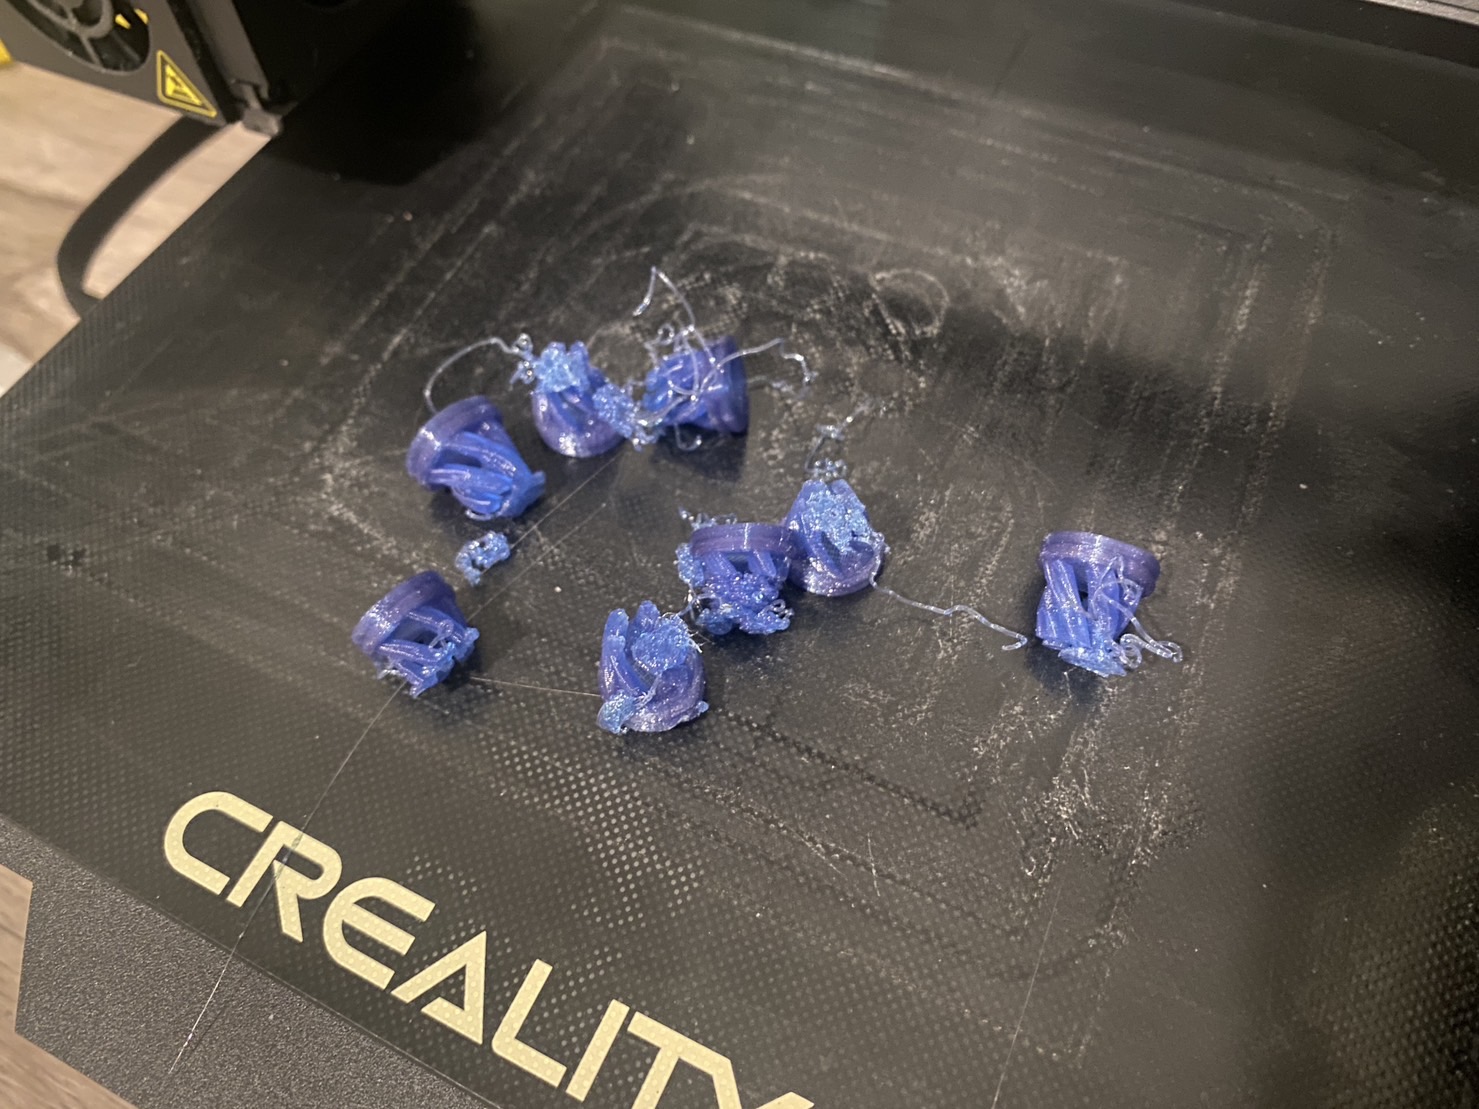
Printing all of the chess pieces was a lot more struggling than I had thought. I thought I could just print them all at once, but my first batch of 8 pawns came out like this...slaughtered and headless... :(
As I have limited special filament (purchased from Proto-pasta), I decided to print each piece one by one to prevent wasting materials on failed attempts. Each pawn took around 30 minutes to print (dynamic quality with 100% infill), and other pieces took around 40-50 minutes each. So printing all of the 32 chess pieces took me around 20 hours, not including the time waiting for the 3D printer to heat up, cleaning up the bed, leveling the bed, replacing filament, trouble-shooting, and all of the wasted time on my tragic failed prints.
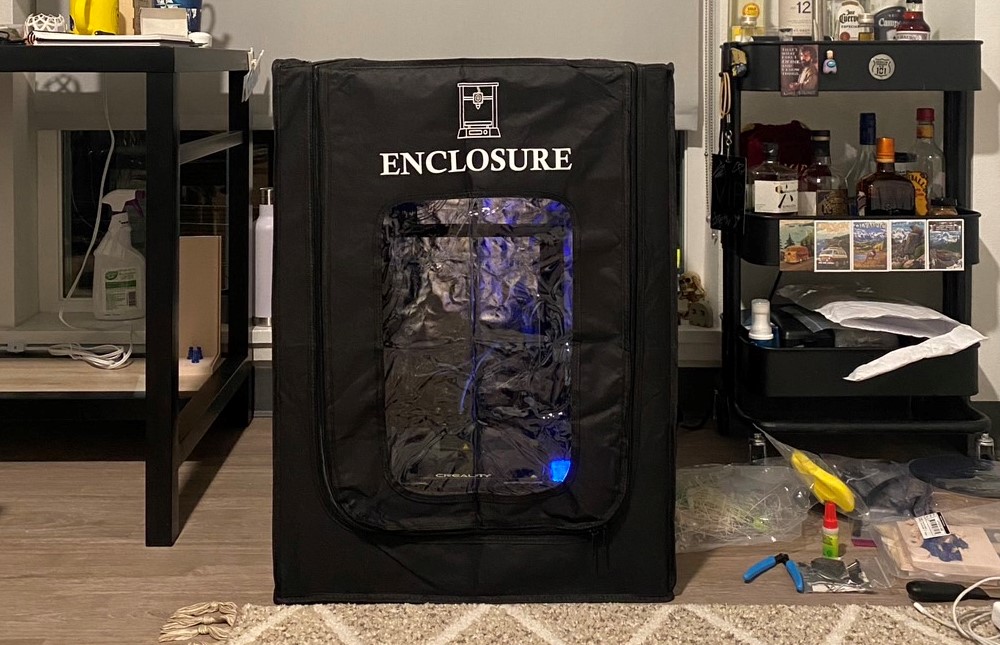
One of my thanksgiving purchases was this 3D printer enclosure to reduce the noise, improve print stability, and to isolate accidental fire.
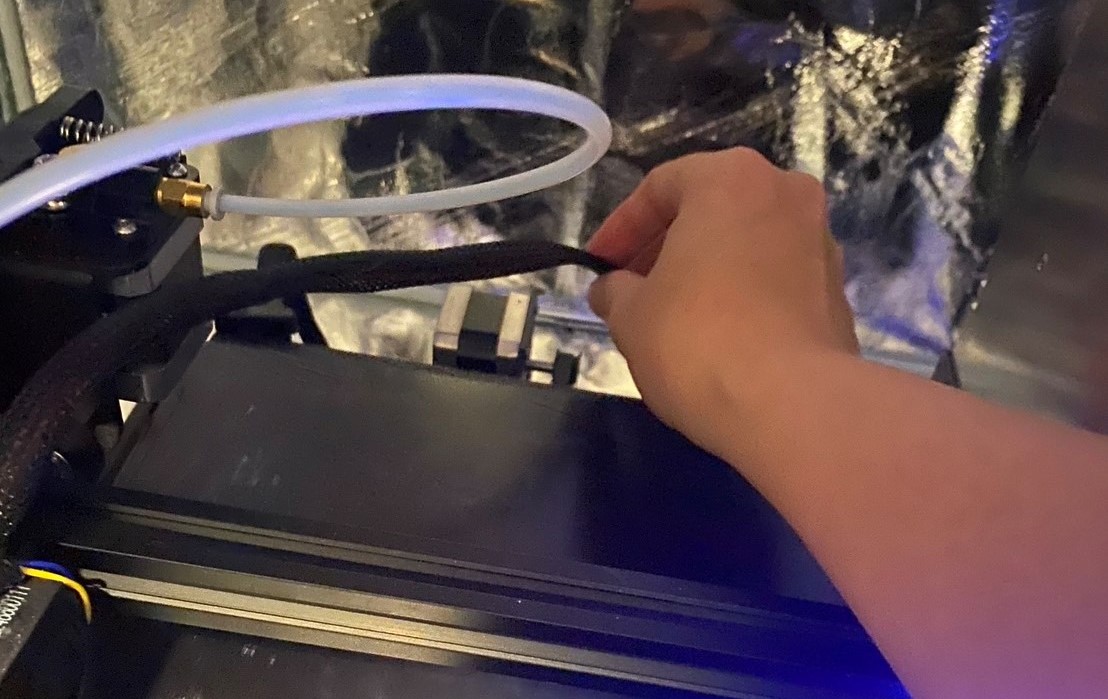
But there were still lots of issues throughout the entire 3D printing process. A few lessons learnt and some mysteries:
Putting them all together
After having all of the parts, I used super glue to put the magnets onto the chess pieces and the holder, carefully making sure that the magnets are on the right side.
I'm still three chess pieces away from being able to play a chess game, so I plan to get a new SD card to see if the printer can function properly. Unfortunately I wasn't able to get the printer to work again before the end of this quarter. :(
Attachment
The model files can be found here.
Bill of Materials
Sources
Here are links to the online resources & assets I used in this project:
Acknowledgement
Big thanks for Tsai-Feng for allowing me ample time to work on the 3D printer as we need to share one printer together, as well as the emotional support when the printer failed me again and again...
Thanks to Prof. Nadya Peek, TA Junchao and all the classmates for a great quarter of learning all these fun techniques!